Woodworking is a timeless craft that merges creativity and craftsmanship, allowing you to transform raw lumber into functional pieces of furniture. Whether you’re an aspiring craftsman or a DIY enthusiast, the prospect of crafting your first piece of furniture can be an incredibly rewarding and fulfilling endeavor. In this comprehensive guide, we will delve into the world of DIY woodworking, exploring the tools, techniques, and steps you’ll need to create your own masterpiece. From the initial selection of the right wood to adding the finishing touches, you’ll find all the essential information you need to embark on this exciting journey.
The Woodworking Basics

Before we delve into your first woodworking project, it’s crucial to understand the fundamental principles that will form the bedrock of your woodworking knowledge.
Woodworking is a multifaceted skill encompassing a wide range of techniques and tools, from cutting and shaping wood to assembling and finishing your creations. Here are the key aspects you should familiarize yourself with:
- Selecting the Right Wood: Your journey begins with selecting the right type of wood for your project. Different wood species have distinct characteristics, including color, grain pattern, hardness, and workability. Common options for beginners include pine, oak, and maple due to their availability and ease of use.
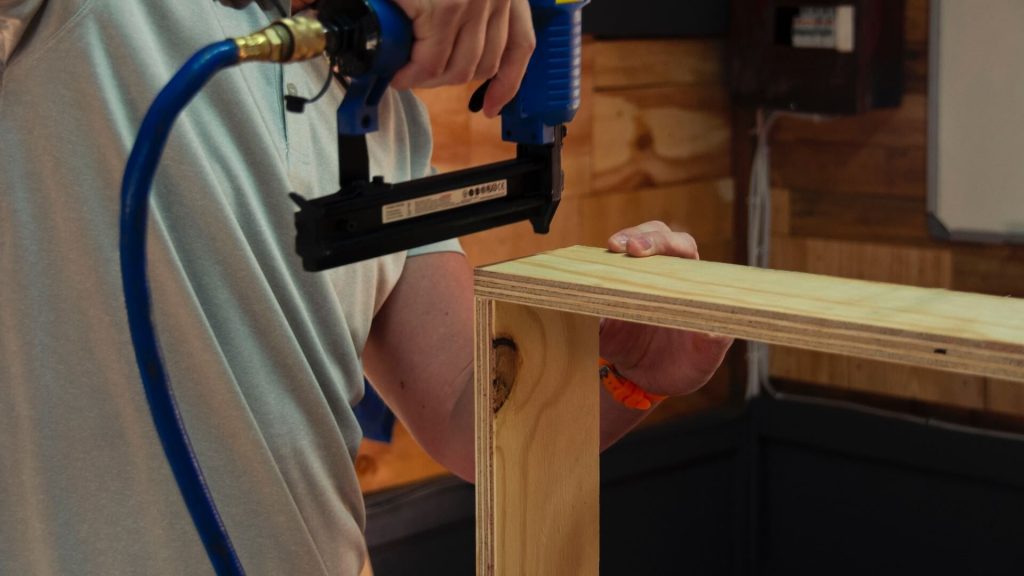
- Essential Tools: Every woodworker needs a set of basic tools to get started. At a minimum, your toolbox should include a saw, a hammer, measuring tools (such as a tape measure and combination square), sandpaper, and clamps. As your woodworking skills progress, you can expand your tool collection to incorporate more specialized equipment.
- Safety Precautions: Safety is paramount in woodworking. Ensure you wear appropriate safety gear, including safety glasses and ear protection. Additionally, maintain a well-ventilated work area, free from clutter to minimize the risk of accidents.
Choosing Your First Project

Now that you’ve gained insights into the woodworking basics, it’s time to determine the best-suited project for your skill level. Your choice should consider your existing tools, experience, and the complexity of the design. Here are some project ideas tailored for beginners:
- Simple Bookshelf: A basic bookshelf is an excellent starting point. It involves making straightforward cuts, drilling holes for screws, and assembling components. You can personalize it by adding design elements like decorative trim.
- Wooden Picture Frame: Crafting a wooden picture frame is an ideal way to practice making precise miter cuts, which are essential for creating tightly joined corners. You’ll also learn about grain orientation and have the opportunity to finish the frame with paint or stain to suit your preferences.
- Side Table: A small side table introduces you to more complex joinery techniques like mortise and tenon joints. It’s a step up from the previous projects and allows for greater creativity in design, such as incorporating a drawer or a lower shelf.
The Art of Measuring and Cutting

Accurate measuring and cutting are foundational skills in woodworking. Even a minor measurement error can lead to misaligned joints and an unstable final product. Here’s how to excel in this critical aspect of woodworking:
- Measure Twice, Cut Once: This timeless rule can’t be emphasized enough. Always double-check your measurements before making any cuts to ensure accuracy. It’s a practice that will save you from numerous potential errors.
- Using a Square: A combination square is a valuable tool for ensuring that your cuts are perfectly perpendicular. It aids in maintaining straight lines and achieving precise angles, contributing to the overall quality of your work.
- Choosing the Right Saw: The type of saw you use should align with your project and the specific type of cut you need to make. A miter saw is ideal for angled cuts, while a circular saw is perfect for straight lines. For intricate curves, a coping saw proves to be highly useful.
Joinery Techniques
The way you join pieces of wood together significantly impacts the stability and aesthetics of your project. Here are some common joinery techniques that are integral to woodworking:
- Butt Joints: This is the simplest type of joint, where two pieces of wood are joined end-to-end or edge-to-edge. It’s often reinforced with screws or nails. While straightforward, butt joints can be quite strong when executed with precision.
- Mortise and Tenon Joints: A mortise is a hole, and a tenon is a projection. This joint involves fitting a tenon into a mortise, creating a robust and durable connection. It’s widely used in more advanced woodworking projects due to its strength and stability.
- Dovetail Joints: Dovetail joints are celebrated for their beauty and strength. Craftsmen often employ them in the construction of drawers and boxes, creating an interlocking pattern that securely holds the pieces together. While dovetail joints are more intricate to create, they offer a unique touch to your woodworking projects.
- Biscuit Joints: Biscuit joinery is a technique that involves using small, football-shaped biscuits and adhesive to join two pieces of wood. It simplifies the alignment and connection of pieces and is commonly used in projects where ease of assembly is crucial.
Sanding and Finishing
Once you assemble your woodworking project, it’s time for you to refine the surface and apply a finish. Sanding is a critical step in achieving a smooth and polished result. Here’s a more detailed breakdown of this process:
- Start with Coarse Grit: Begin your sanding process with a coarse grit sandpaper. This initial stage focuses on removing any rough spots or imperfections from the wood’s surface. As you progress, transition to finer grits, which will help create a progressively smoother finish.
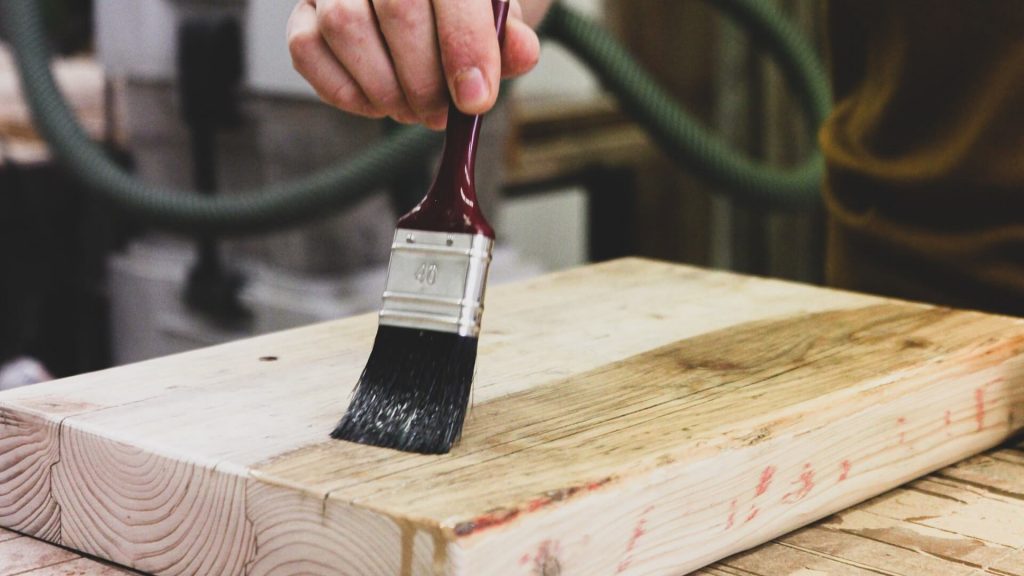
- Prepping for Finish: Before applying any finish, it’s imperative to ensure that the wood is clean and free of any dust or debris. Use a tack cloth, a slightly sticky fabric designed for this purpose, to thoroughly remove any remaining particles.
- Choosing a Finish: The final step in the woodworking process is applying a finish to your project. You have several options to choose from, depending on your preferences and the intended use of the piece. These options include paint, stain, or a clear varnish. Each has its unique advantages, and your selection should align with your project’s requirements and the aesthetic you desire.
Patience and Perseverance
As you embark on your DIY woodworking journey, remember that patience and perseverance are your allies. Woodworking is a skill that rewards dedication and practice. It’s normal to encounter challenges and make mistakes along the way. Every seasoned woodworker, even the most experienced, started as a novice. With time, practice, and a commitment to honing your skills, you’ll see continuous improvement in your craftsmanship and artistic expression.
Conclusion
DIY woodworking offers a unique and fulfilling path to bring your creative ideas to life. Crafting your first piece of furniture is not just an achievement; it’s a journey of self-discovery and skill development. By mastering the woodworking basics, selecting an appropriate project, honing your measuring and cutting techniques, exploring various joinery methods, and finishing your creation with care, you can unlock your potential as a woodworker. As you progress, you’ll discover that you’re not merely crafting furniture but creating memories and mastering the art of woodworking. So, gather your tools, select your wood, and begin building your first piece of furniture today. This journey is not only worth embarking on, but it also opens the door to limitless possibilities in the world of DIY woodworking.